Running on PythonAnywhere.com
Contents of this page:
PythonAnywhere provides a cloud-hosted very Python-friendly environment that your students can use run (and develop) their buggy editors.
The great thing about using a service like this is that the development environment is ready-to-go: no setup needed by the students.
Because it’s in the cloud, a student who is only working on PythonAnywhere must be online to work.
The basic service described here is free.
What follows are the manual steps for getting the editor running up on PythonAnywhere, with a (basic, free) student account. PythonAnywhere has an educational tier. However, PythonAnywhere tell us that, even if you’ve added the students to your account (that is, their home directories appear under yours (as the teacher)), you cannot automate the Set it up to run as a webapp step on your students’ accounts, which is disappointing.
Get the code
Log into your PythonAnywhere account and open a bash console. Do a git clone to get the code. The username in the URL of the repo will depend on whether you are cloning from your (staff) customised repo, or if you’re encouraging students to clone from their forks of your repo. In either case, get the repo’s URL by going to the repo on GitHub and clicking the green Code button, choosing the HTTPS tab, and copying the URL.
git clone https://github.com/USERNAME/buggy-race-editor.git
This will make a directory in your PythonAnywhere home directory called buggy-race-editor.
Set it up to run as a webapp
This is really wrapping the editor’s Flask app so when it runs up in the cloud, requests and responses to the pythonanywhere.com webserver get handled by your little app.py.
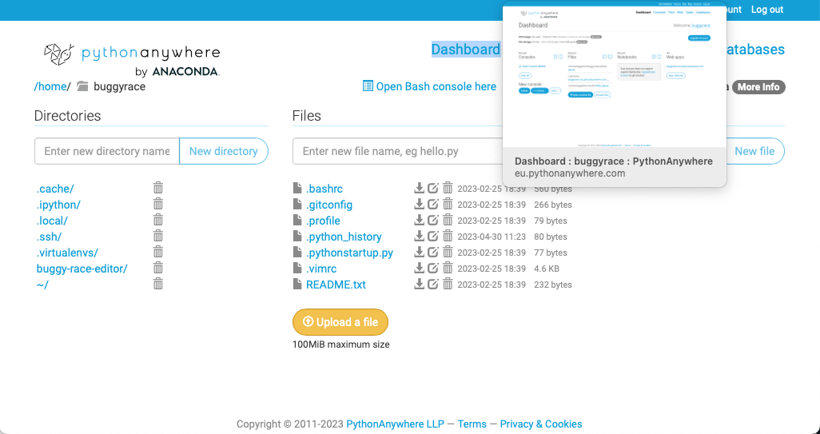
Go to your PythonAnywhere dashboard and click Web (on the top right).
- Choose Add a new web app
- Accept the default name (click Next)
- Choose Manual configuration
- Select a Python version (Python 3.10 works)
- Configure the Code:
- Source code:
Enter the path to your web app source code:
/home/USERNAME/buggy-race-editor/app.py - Working directory:
/home/USERNAME/buggy-race-editor
(this is the same directory as yourapp.py: it’s where the database will be) - WSGI configuration file:
click on this and edit it
- Source code:
Editing the WSGI file
When you click on the WSGI file path, it will open (in your browser) in a text editor.
Comment out the HELLO WORLD section — that’s everything up to line 51. Uncomment and edit the Flask section. In effect, all that you need in the WSGI file is this (remember to change USERNAME):
import sys
path = '/home/USERNAME/buggy-race-editor'
if path not in sys.path:
    sys.path.append(path)
from app import app as application
Remember to initialise the database
In the bash console, cd into the repo directory, and run the init_db.py script:
~ $ cd buggy-race-editor
~/buggy-race-editor (main)$ python init_db.py
You’ll see the output from the database initialising script:
- Opened database successfully in file "database.db"
- OK, table "buggies" exists
- Added one 4-wheeled buggy
- OK, your database is ready
Reload the web app
Go to the Web page and click on the green Reload …pythonanywhere.com button.
Go to your webapp (the URL at the top of your Web page is clickable), and you can see your editor and edit the number of wheels.
Troubleshooting missing buggies table
If you’re sure you’ve initialised the database (by running init_db.py in a bash console up on PythonAnywhere), then your web app can still fail to find it if you haven’t set the working directory to be the directory that contains it. The Python scripts are really using the value of the constant DATABASE_FILE to determine where to look — that’s normally simply in the same directory as the app, which is why you need to be explicit about where that is when the app that’s really running isn’t your app.py.
Remember that PythonAnywhere’s www and eu subdomains run entirely separate. Be sure you (and your students) are using the correct one!
- Previous: Running locally
- Next: Running on repl.it